For years, I believed Apple’s walled garden was untouchable, especially after jailbreaks slowly faded away.
But today, I can honestly say that jailbreak-style customization is back on iOS 26, and it works shockingly well.
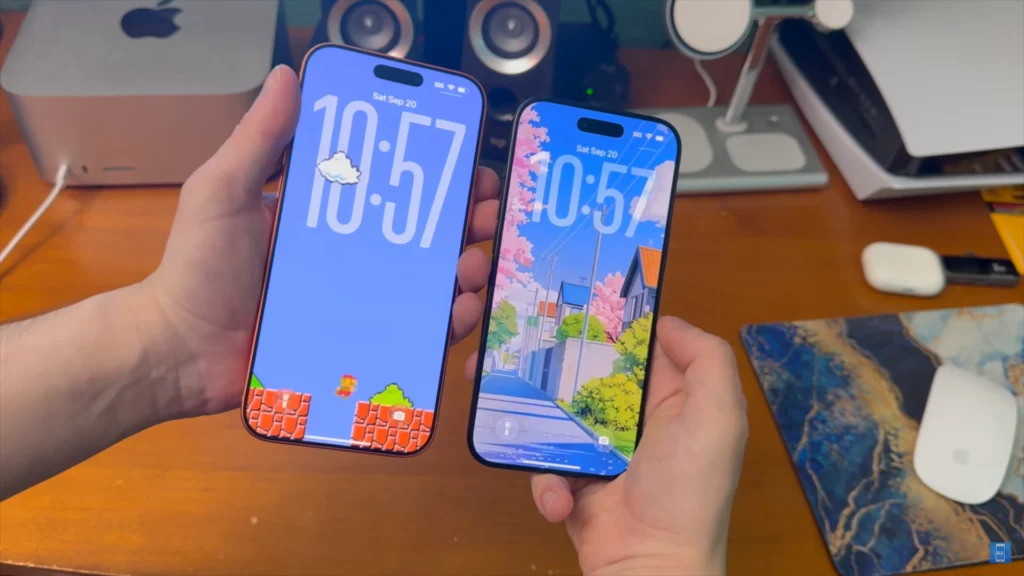
I’m using an iPhone 12 Pro, and I now have a real Always-On Display and a real Dynamic Island. Not fake overlays, not visual tricks, but actual system-level features enabled without jailbreaking.
This experience honestly feels like going back to the golden Cydia days. And the best part is that it works on modern iOS versions using a tool called Nugget iOS.
In this guide, I’m going to walk you through exactly how I did it, step by step. I’ll explain everything clearly, slowly, and in plain language, just like I wish someone had done for me.

Why Nugget iOS Feels Like a Jailbreak Comeback
When jailbreaks disappeared, customization lovers were left with almost nothing. Apple decided what you could change, and that was pretty much the end of the story.
Nugget iOS changes that completely by modifying internal system files safely. It gives you access to features Apple restricts based on device models.
This is why older iPhones can suddenly get newer features. Dynamic Island, Always-On Display, boot chime, iPad-style layouts, and more become possible again.
What surprised me most is how stable everything feels. Once applied correctly, the tweaks work like native Apple features.
iOS Versions and Device Compatibility Explained
Before touching anything, the first thing I checked was compatibility. Whenever you modify iOS behavior, this step is absolutely critical.
At the time of writing, Nugget iOS works from iOS 18.0 all the way up to iOS 26.1. That means almost all modern iPhones are supported right now.
However, I want to be very clear about one thing. Future updates like iOS 26.2, iOS 27, or later versions might block this method.
Apple doesn’t like these kinds of tools, and history proves that. So if you’re reading this in the future, always proceed carefully.
What You Should Do Before Starting
Before I touched Nugget, I prepared my iPhone properly. This reduces errors and prevents unnecessary frustration later.
First, I opened Settings and tapped my Apple ID at the top. Then I went into Find My and temporarily turned off Find My iPhone.
This step is mandatory for the tweaks to apply correctly. Don’t worry, you can turn it back on later with no issues.
Next, I scrolled down to Passcode settings and disabled my passcode temporarily. Again, this is only temporary and completely safe if you follow the steps.
Downloading the Required Shortcut on iPhone
Once the phone-side preparation was done, I moved to Safari. This is where we extract a system file required for Nugget to work.
I searched for Save Mobile Gestalt and opened the RoutineHub page. Scrolling all the way down, I tapped the Get Shortcut button.
You’ll see ads and pop-ups during this step, which is annoying but normal. Just close them and make sure the shortcut downloads correctly.
If Safari asks you to add the shortcut, tap Add Shortcut. If it asks you to log in, refreshing the page usually fixes it.
Running the Shortcut and Extracting the System File
Once the shortcut was installed, I opened the Shortcuts app. I tapped the Save Mobile Gestalt shortcut to run it.
Whenever iOS asked for permissions, I chose Always Allow. This is necessary for the shortcut to access the required data.
There’s a fake “update available” message that appears sometimes. Just tap Later, because there is no real update.
When prompted, I selected the Manual Method option. This gives us control over exactly what gets copied.
Copying the Mobile Gestalt Data Correctly
This part sounds confusing, but it’s actually very simple. You just need to follow the tapping steps carefully. I tapped the “Click Here” option and looked for the File in the graph view.
Inside that, I found an NSString at the bottom and opened it. I tapped the empty text area, selected all the text, and copied it. You can double-tap and drag if that feels more comfortable.
Once copied, I backed out and confirmed the steps. Then I allowed the shortcut to share its dictionary data.
Saving the Property List File to iPhone Storage
After allowing permissions, iOS created a property list file. This file is the key to enabling system-level tweaks.
I chose Save to Files and navigated to On My iPhone. Then I saved the file without renaming anything. To double-check, I opened the Files app and browsed locally.
The new plist file was visible, which confirmed everything worked.
Transferring the File to a Computer
At this stage, a computer is required. You can use Windows or macOS, both work fine. I long-pressed the plist file and tapped the Share button.
Then I emailed it to myself, but AirDrop or cloud storage also works. As long as the file ends up on your computer, you’re good.
Just remember where you saved it for later.
Installing Python on Windows or Mac
Nugget iOS relies on Python to function properly. So this step is absolutely necessary. I downloaded Python from the official source linked by Nugget.
On Windows, it appears as an installer manager. I unchecked “Launch when ready” and clicked Install Python.
Mac users will see a slightly different setup, but it’s straightforward. Once Python was installed, I restarted my computer.
This step prevents weird errors and saves a lot of time.
Downloading Nugget iOS Safely
- Next, I opened Nugget’s official GitHub page.
- This is important because open-source code is transparent and safer.
- I scrolled down to the Releases section.
- Then I downloaded the version matching my operating system.
- Windows users download the Nugget Windows ZIP file.
- Mac users choose between Apple Silicon or Intel versions.
- After downloading, I extracted the files.
- Mac users just drag Nugget into the Applications folder.
Opening Nugget and Connecting the iPhone
Before opening Nugget, I plugged my iPhone into the computer. Use a proper charging cable to avoid connection issues.
When prompted on iPhone, I tapped Trust This Computer. If you don’t see the prompt, you may have already trusted it before.
I opened Nugget and ignored any runtime warnings. On Windows, I clicked “Run Anyway” when security prompts appeared. Inside Nugget, I clicked the Refresh button.
My iPhone appeared instantly with the correct iOS version.
Exploring Nugget’s Customization Options
Nugget has two main sections. One handles simple tweaks, and the other modifies deeper system behavior.
The status bar options are incredibly fun to experiment with. You can even change your carrier name to anything you want.
I tested this first just to confirm Nugget was working. After clicking Apply, the change appeared instantly on my phone.
Once I knew everything was working, I moved to Mobile Gestalt tweaks. This is where the real magic happens.
Applying Always-On Display on Unsupported iPhones
Inside the Mobile Gestalt section, I enabled Always-On Display. This is the same feature Apple locks behind newer devices. If it doesn’t work immediately, there’s a vibrancy option available.
But I recommend trying the basic toggle first. This feature alone feels unreal on older devices. The screen behavior feels native and polished.
Enabling Real Dynamic Island on Any iPhone
Dynamic Island is controlled using device presets. You simply choose the model you want to emulate.
Since I’m using an iPhone 12 Pro, I selected iPhone 16 Pro. Pro Max users should choose Pro Max presets instead.
Once selected, I clicked Apply Changes. The first time always fails, and that’s expected behavior.
Enabling Developer Mode the Correct Way
After the first failed application attempt, Developer Mode appears in Settings. This is a required Apple security step.
I went to Settings, then Privacy and Security. Scrolling down, I enabled Developer Mode and restarted my phone.
Once back on, I reopened Nugget and repeated the steps. This time, the tweaks applied successfully.
The Weird Books App Trick That Actually Works
During the process, Nugget opens the Books app automatically. It asks you to download a free book. This sounds like a joke, but it’s absolutely required. I downloaded a random free cookbook without thinking twice.
Once downloaded, the Books app crashed and reopened. My iPhone then restarted on its own.
Final Result: It Actually Works
When my iPhone turned back on, I couldn’t believe my eyes. The Dynamic Island was there, fully functional.
The Always-On Display worked exactly like newer models. Locking and unlocking felt smooth and natural.
A quick manual restart fixed a small glitch. After that, everything worked perfectly.
How to Revert Changes Safely
If you ever want to undo everything, you have two options. Both are simple and safe. You can update iOS, which removes the tweaks permanently.
Or you can reopen Nugget and uncheck the applied options. Applying the changes again without those options restores stock behavior. No data loss, no permanent damage.
Final Thoughts From My Experience
This honestly feels like a jailbreak revival without the risks. Nugget iOS brings back freedom in a surprisingly stable way. If you miss Cydia tweaks, customization, and control, this is it.
Just follow the steps carefully and don’t rush anything. Apple may block this in future updates. So if you’re curious, now is the best time to try it.
If you have questions or get stuck, take it slow. And enjoy having real control over your iPhone again.